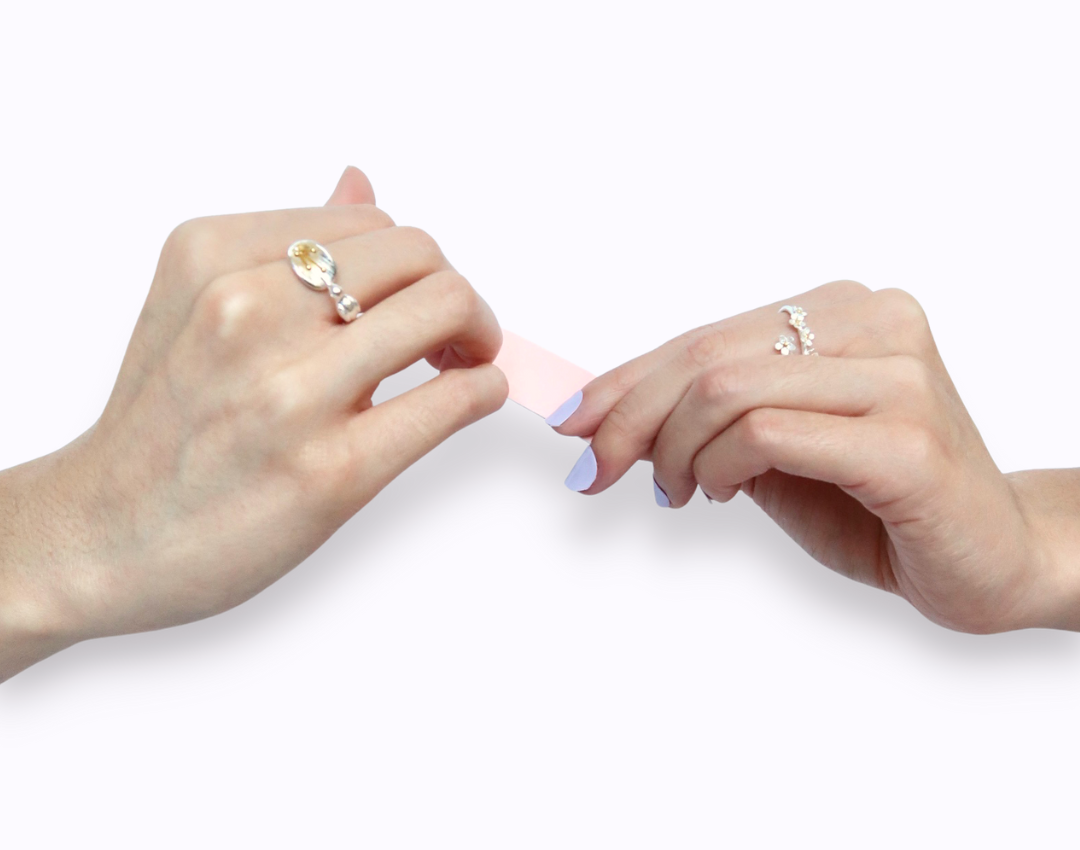
Complete Guide to Gel Nails: Benefits, Application and Care
In this comprehensive journey into the world of gel nail stickers, we will explore their many benefits, show you step-by-step how to apply them, and share valuable tips for proper care. Whether you are a nail professional or just a hobbyist, this guide is for everyone.
Let's start with the basics.
Gel nail stickers are revolutionizing the world of nail care. LumeNail gel nail stickers provide a durable, shiny finish that lasts for weeks.
Discover the benefits
Why choose gel nail stickers over traditional nail polish? Here's a look at their amazing benefits:
-
Durability and Longevity: Gel nail stickers are known for their durability. They withstand everyday challenges and remain flawless.
-
Shiny and Brilliant: Say goodbye to dull nails. Gel nail stickers retain their brilliant shine for a long time, making them ideal for special occasions and everyday wear.
-
Quick Application: While acrylic gel nails can take hours to apply, gel nail stickers offer a quick and hassle-free application. You spend less time on your manicure and more time on your perfect look.
-
Instant Drying: Traditional nail polish requires careful handling to avoid smudging. With gel nail stickers, there is no waiting; they are ready to use as soon as they dry under a UV or LED lamp.
-
Artistic Canvas: Whether it's classic shades or intricate nail art designs, gel nail stickers provide a versatile canvas for your creativity to unfold.
DIY Adventure: Application at home
Now that you're ready to embark on your gel nail sticker journey, let's break down the application process into simple steps:
-
Step 1: Set up your workspace. Set up your workspace with all the tools you need: gel nail stickers, a reliable UV or LED lamp, nail file, nail cleaner, and paper towels.
-
Step 1: Prep your nails. Start with a clean base: clean, dry nails are essential for gel nail stickers to last long and last. Make sure your nails and the area around them are clean! Sweat, oils, and dead skin around your nails can affect the adhesion of the nail stickers. Gently push back the cuticles around your nails to create a well-defined nail bed.
-
Step 1: The right size gel nail sticker. Choose the type of gel nail sticker you want. To find the right one for you, check out LumeNail's wide range, where you will find styles to suit every mood and occasion.
-
Step 1: Cut to size! Stick the sticker on your nail! Choose the size that fits your nails well. Make sure the edges and tips are well covered. Cut the gel nail stickers to fit perfectly.
-
Step 1: Embark on the Gel Nail Journey! Unleash the beauty of gel manicures by curing the nail stickers under a UV or LED lamp.
With these steps, you can create your own gel nails from the comfort of your own home. Enjoy the freedom of creative expression and the long-lasting results of gel nail stickers.
Caring for Your Gel Nails
Now that you've adorned your nails with the magic of gel nail stickers, let's delve into the art of maintenance:
-
Gentle Handling: Although gel nail stickers are durable, handle them with care. Avoid using your nails as tools, such as opening boxes or scratching surfaces.
-
Keep Dry After Application: Exposure to water can weaken the bond between your natural nails and the gel nail stickers after you have cured them under a UV lamp. Avoid soaking your nails in water immediately after application.
-
Regular Checks: Check your gel nail sticker manicure from time to time for signs of lifting or damage. Treat any problems immediately to prevent further damage.
-
Cuticle Care: Moisturizing your cuticles and the skin around them is essential for the health and appearance of your gel nails. Use a cuticle oil or moisturizing hand cream in your routine.
Myths and misunderstandings
Let's debunk some common myths and misconceptions surrounding gel nail stickers:
Myth 1: They Damage Your Nails. When applied and removed properly, gel nail stickers will not damage your natural nails. Proper care and maintenance is the key to maintaining healthy nails.
Myth 2: Difficult maintenance. In fact, gel nail stickers are low maintenance if you stick to the tips we have detailed in this guide.
Myth 3: Limited Options. Not at all! Gel nail stickers come in a wide range of colors, from classic shades to intricate nail art designs. There are no limits to your creativity.
Safety and Health Considerations
Safety should always be a top priority. Here are some basic things to consider when working with gel nail stickers:
-
Allergic Reactions: Although rare, some individuals may be sensitive to the ingredients in gel nail sticker products. If you are concerned, do a patch test and apply the product to just one nail before applying it to all of your nails.
-
UV Protection: If you expect prolonged exposure to UV light, such as during a long-term application, it is a good idea to apply sunscreen to your hands to protect your skin.
Summary
This comprehensive guide will guide you through everything you need to know about gel nail stickers. Whether you're looking for a manicure that lasts for weeks, a canvas for artistic creations, or a low-maintenance beauty routine, gel nail stickers have it all.
With proper application and care, gel nail stickers are a stunning reflection of your creativity and style. So embrace the world of colors, designs and techniques. Your nails are your personal personality, your masterpieces, with gel nail stickers the possibilities are endless.
